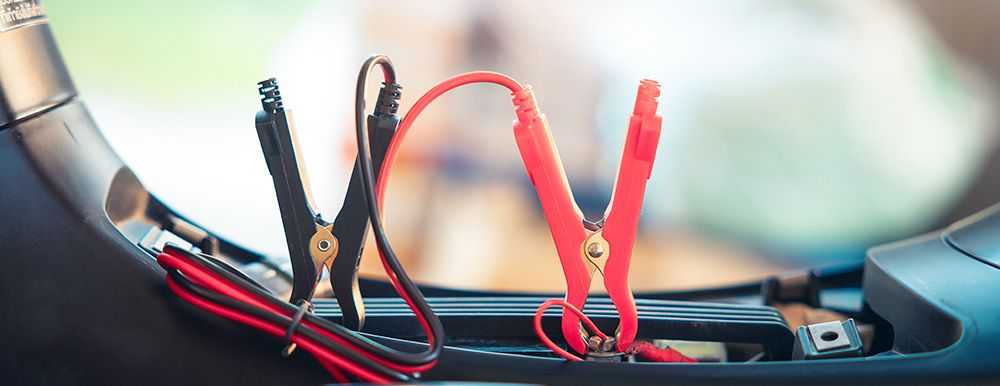
How To Charge A Motorbike Battery
A battery is one of the most important parts of your motorcycle, especially in modern times when most of the technology you may find on your two wheeled toy is powered by said battery, this includes the ignition that is required to start your engine.
Batteries are funny things, they sit in your motorcycle and react to the weather around them depending if it is hot or cold and there’s absolutely no way you can prevent this from happening, instead it’s more about damage limitation unless you want to remove the battery every time you park it up for the night.
You may think that cold weather kills batteries and you are correct, however hot weather can do just as much damage also, the hot weather can cause corrosion within the battery and can even cause water to explode out of the battery, thus killing it, the best thing you can do to prevent this is to keep the battery connections clean, tight, and corrosion-free.
See how much you can save
Compare quotes from 37 insurers
In cold weather you may find your battery responding worse as the engine will require more power to kick over the starter motor and you may find it struggling more because most batteries work thanks to an electrochemical reaction that sends power signals to your terminal ends. This chemical reaction slows down in colder weather, weakening your battery’s power.
The best thing you can do in the winter is keep the battery charged up which may mean going out on longer rides or simply removing the battery and charging it up at home, how do you charge a battery you ask?
Thankfully, we’ve put together this guide for you so you can charge your own battery and never be left without power.


1. Find The Battery
Obviously, if you want to charge the battery of your motorcycle, you firstly need to find it.
In most motorcycles it is normally based under the seat of the bike, however there are some models whereby it may be placed further back towards the back end of the bike and others whereby it is stored under the fuel tank. If you are unsure, consult the user manual to find out more information.
2. Remove The Battery (Not Always Necessary)
The second job is to remove the battery so that you can charge it if it is hard to access, this isn’t always necessary though and you may be able to charge it simply by leaving it in the motorcycle, however you still need to disconnect it.
The way to do this is to remember ‘black (negative) off, red (positive) on’ when you are removing the battery you must ALWAYS remove the negative terminal first before removing the positive, if you were to remove the positive first you may accidentally touch the terminal to a metal surface which can cause a spark which could turn into a full blown fire.
When reattaching the terminals to the battery ensure to attach the positive terminal firs, thus meaning ‘black (negative) off’ for when you are taking the terminals off, and’ red (positive) on’ for when you are reattaching the battery.
Making bike insurance easy since 2006
3. Connect The Charger
Assuming you already have a battery charger this is a simple process, if you do not then you need to look into purchasing a battery charger, motorcycles use either 12v or 6v batteries and the voltage of the charger will need to match this.
It’s also worth noting that the higher amps of the charger the faster the battery will charge, you must also take note of the type of battery such as lead acid and lithium, you need to purchase a charger that matches this.
There are also two major types of chargers, a smart charger that will detect how much charge you require and charge to this level and requirements before stopping at the best levels, preventing overcharging to the battery. A trickle charger will charge the battery continuously but needs to be monitored as they can overcharge your battery.
Connect the charger to the battery, remember to use the ‘black (negative) off, red (positive) on’ method and attach the red (positive) terminal first before then attaching the negative terminal.
4. Turn The Charger On
Following the user guide of your battery charger, turn on the charger and wait for it to confirm that the battery is being charged, normally there is a light on the charger to confirm once charging has been completed.
See how much you can save
Compare quotes from 37 insurers
5. Turn Off & Disconnect
Once charged, disconnect the battery from power ensuring you remove the negative terminal first before the positive.
6. Fit The Battery Back In The Bike
If your battery was removed from the motorcycle, you may now refit this to the battery once again ensuring you connect the red positive terminal before the negative terminal to ensure no sparks go flying around.
Once connected back to the motorcycle you should find that it will function as intended.
Can you charge a motorcycle battery while still connected?
Without going into technical details of why you shouldn’t do this, yes, you should disconnect the battery from the motorcycle before you charge it.
How long does it take to charge a motorcycle battery?
This depends on the battery and how badly it requires charging, however anything between 4-18 hours. Normally your charger will tell you once it is done and can be removed from charge.
